What Makes Tortoiseshell Nail Designs So Elegant and How to DIY? Discover the magic behind this timeless design and follow our simple step-by-step DIY guide to create your own tortoiseshell nails at home even if you’re a beginner!
Also Read : How to Create a Nighttime Nail Care Routine for Healthier Nails?

Why Are Tortoiseshell Nails So Popular and Elegant?
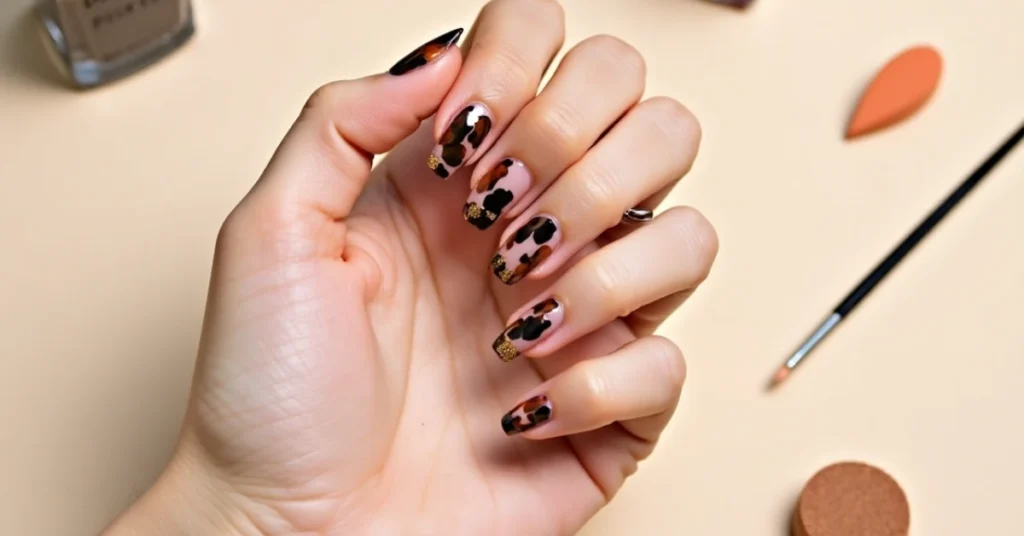
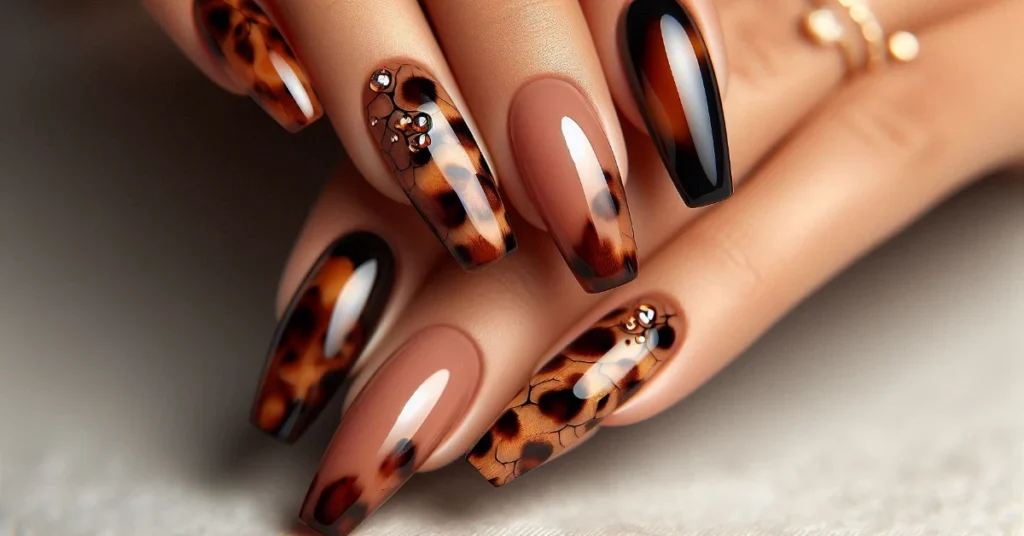
Have you ever seen nails that look like a mix of brown, black, and golden spots, all swirled together like marble? That’s the tortoiseshell style! It’s super pretty, cool, and gives off a classy vibe without being too flashy.
Here’s why tortoiseshell nails are loved by so many:
- Inspired by Nature: Tortoiseshell designs copy the pattern of a real tortoise’s shell warm, swirly, and naturally beautiful.
- Warm and Rich Colors: Think of soft browns, caramels, amber, and sometimes shiny gold. These colors look great on all skin tones!
- No Two Are the Same: Just like snowflakes, every tortoiseshell pattern is a little different. That makes them super special.
- Fits Any Look: Whether you’re wearing jeans or dressing up for a party, tortoiseshell nails work for everything.
- Never Goes Out of Style: While other nail trends change, tortoiseshell nails always stay in fashion.
- Simple But Chic: They’re not loud or too bright but still very stylish.
- Feel Fancy: The look has a touch of luxury, like something you’d see on a designer bag or sunglasses.
How to Make Tortoiseshell Nails at Home
You don’t need to go to a nail salon for this fancy design. Let’s walk through how you can do it right at home, even if you’re just starting out.
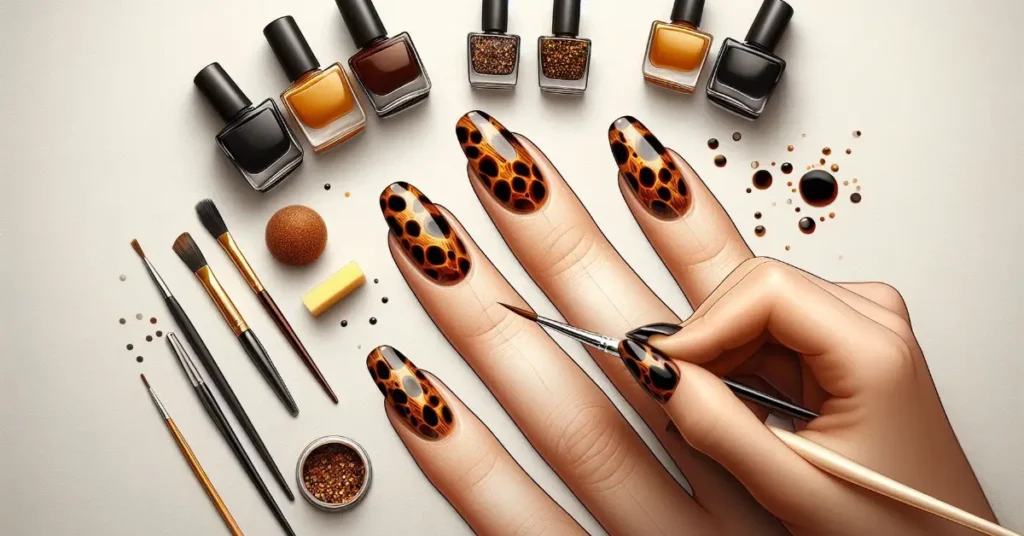
What You’ll Need:
| Item | Use |
|---|---|
| Base Coat | Protects your nails and helps polish stick |
| Amber or Caramel Polish | Acts as the background color |
| Brown Nail Polish | Makes the main spots |
| Black Nail Polish | Adds shadows and depth |
| Gold Nail Polish (Optional) | Adds sparkle |
| Thin Nail Art Brush | Helps draw the spots |
| Small Sponge | Blends the colors together |
| Top Coat | Seals everything in and adds shine |
| Nail Polish Remover | Cleans up mistakes |
| Clean-Up Brush | Helps fix edges |

Steps to Create Tortoiseshell Nails
1. Prep Your Nails
- Clean your nails and trim or shape them.
- Push back cuticles and lightly buff the top of your nails.
- Wipe with nail polish remover to remove oils.
- Apply a clear base coat and let it dry.
2. Apply Your Base Color
- Paint your nails with amber or caramel polish.
- Do two thin coats for even color.
- Let it dry between coats.
3. Make Brown Spots
- Use the thin brush to paint uneven brown spots.
- They should be random and a little messy that’s the goal!
- Don’t cover the whole nail. Leave some space.
4. Add Black for Depth
- Add small black spots inside or near the brown ones.
- Use less black than brown it’s just to create shadows and contrast.
5. Blend with Sponge
- Dab a little clear polish on top of your spots.
- Quickly dab the sponge over it to soften the edges.
- It’ll look more natural and swirly this way.
6. Add Gold (Optional)
- If you want to get fancy, use the gold polish to add tiny lines or flecks.
- Don’t overdo it just a little sparkle goes a long way.
7. Seal It All In
- After everything dries, use a top coat to seal your design and add a glossy shine.
8. Clean Up
- Use the clean-up brush and remover to fix any mess around your nails.

Tips for a Flawless Look
- Be Messy on Purpose: Tortoiseshell designs aren’t perfect and that’s what makes them beautiful.
- Layer the Colors: The more layers, the more real it looks.
- Use Thin Coats: Thick polish takes longer to dry and might smudge.
- Try Accent Nails: Don’t want to do all 10 fingers? Just do 1 or 2 and paint the rest a solid color.
- Practice First: Test the pattern on paper or a nail art wheel before trying it on your real nails.
What to Do If Things Go Wrong
| Problem | Quick Fix |
|---|---|
| Spots look too even | Mix up the sizes and make them a bit random |
| Colors are blending too much | Let each layer dry a little before the next one |
| The design looks flat | Add small black spots and blend gently |
| Top coat smudges the design | Wait until the polish is 100% dry before applying it |
| You made a mess on your skin | Use a small brush with remover to clean it up |
DIY Tortoiseshell Nail Steps
| Step | What to Do | Why It Matters |
|---|---|---|
| Prep Nails | File, buff, clean, apply base coat | Makes the polish go on smoothly |
| Apply Base Color | Use amber/caramel polish, two thin coats | Sets the tone for the whole look |
| Brown Spots | Paint uneven brown blobs | Creates the tortoiseshell pattern |
| Black Spots | Add small black dabs in/around the brown | Adds depth and detail |
| Blend | Dab sponge over clear top coat | Makes it soft and swirly |
| Optional Gold | Tiny gold flecks or lines | Adds sparkle and elegance |
| Seal with Top Coat | Add glossy top coat | Protects your work and adds shine |
| Clean Up | Fix edges with remover and a small brush | Makes it look neat and professional |
Key points
- Tortoiseshell nails are classy and never go out of style.
- The design uses warm colors like amber, brown, black, and gold.
- You don’t need to be a pro just follow the steps and have fun.
- Blending is the magic trick that makes the look realistic.
- Accent nails are great if you want to try it without doing a full set.
FAQs
Is tortoiseshell nail art hard to do by yourself?
Not really! It takes a little patience and practice, but once you get the hang of layering and blending the colors, it becomes easier and super fun.
What colors should I use for tortoiseshell nails?
The classic shades are amber, brown, and black. You can also try warm tones like burnt orange or deep red to make it your own.
Can I use gel polish to make tortoiseshell nails?
Yes! Gel polish works great for this design. Just make sure to cure each layer under a UV or LED light to keep it strong.
How long will my DIY tortoiseshell nails last?
If you use regular polish, they can last around a week. Gel polish lasts longer—about two weeks or even more with good care.
Do I need special tools for this nail design?
You’ll need a thin nail art brush and a small makeup sponge. These help you make the spots and blend them just right.
Also Read : How to Create a Nighttime Nail Care Routine for Healthier Nails?
Conclusion
Now that you know what makes tortoiseshell nails so special and how to do them yourself you’re ready to try this timeless, elegant, and totally doable design at home. Whether you keep it simple or go all out, tortoiseshell nails are a great way to show off your creative side.
So grab your nail polish, play around with the colors, and don’t stress about being perfect. Every nail is its own little work of art!