Step-by-Step Tutorial for Creating a Stunning Cat Eye Gel Polish Effect. Perfect for beginners, this guide covers tools, tips, and tricks for mesmerizing magnetic nails.
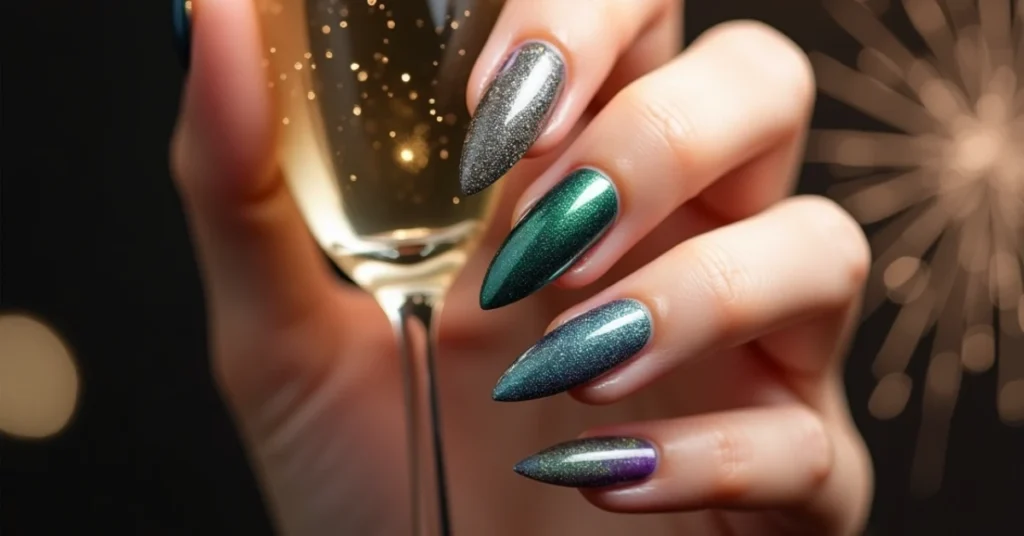
Want to give your nails a magical, glowing look? The cat eye gel polish effect is one of the coolest trends in nail art today! With a swipe of a magnet, your nails can shine like a cat’s eye shifting and sparkling in the light. This guide is perfect if you’re a beginner and want to learn how to do cat eye gel nails at home.
Don’t worry it might look fancy, but it’s not hard at all. Let’s break it down into easy steps you can follow. Get ready to learn, play with polish, and make your nails shine like magic!
Also Read : How to Create Sparkly New Year’s Eve Nail Art Using Glitter and Rhinestones?

What Makes Cat Eye Nails So Special?
Before we start, let’s talk about why cat eye nails are super popular right now:
- They sparkle and shift – When you move your hands, the color changes and shines, just like a cat’s eye catching the light.
- They look really cool without being hard to do – You don’t need to be a nail artist to make your nails pop.
- Tons of colors to try – From deep blues to shiny golds, you can match them with any outfit or vibe.
- Made with magnet magic – The polish has tiny magnetic bits that move when you hold a special magnet over them.
- Doable at home – With a few tools, you can skip the salon and still get pro-looking results.
Cat Eye Nail Kit Essentials
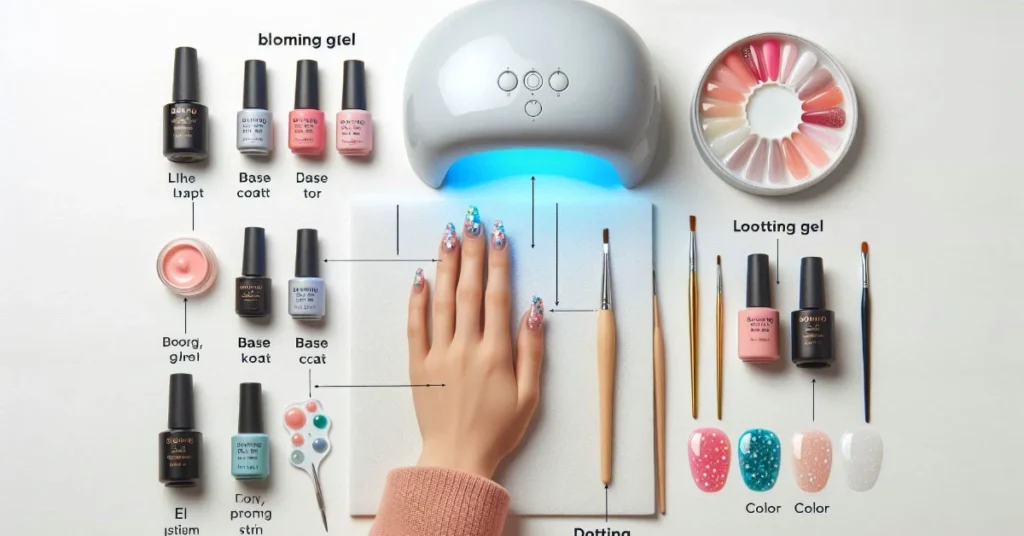
Before you begin, make sure you have everything ready. Here’s your beginner-friendly nail tool checklist:
| Item | What It’s For |
|---|---|
| UV/LED Nail Lamp | Cures (dries) your gel polish fast. |
| Gel Base Coat | Protects your real nails and helps polish stick. |
| Cat Eye Gel Polish | The star of the show it has magnetic particles. |
| Cat Eye Magnet | Used to create the shimmering “cat eye” design. |
| Gel Top Coat | Seals in your art and makes it shiny. |
| Nail Cleanser or Rubbing Alcohol | Wipes off the sticky top layer after curing. |
| Lint-Free Wipes | Keeps your nails clean without fuzz. |
| Nail File & Buffer | Shapes your nails and smooths the surface. |
| Cuticle Pusher | Pushes back cuticles for a clean look. |
Step-by-Step Cat Eye Gel Nail Tutorial
Follow these simple steps to get stunning cat eye nails at home!
Step 1: Prep Your Nails
Start with clean, dry hands.
- Use the nail file to shape your nails.
- Gently buff the tops of your nails to remove shine.
- Push back your cuticles with the cuticle pusher.
- Wipe your nails with a little nail cleanser or rubbing alcohol to remove any oils or dust.
Tip: Great nails start with a clean surface!
Step 2: Apply Gel Base Coat
- Put on a thin, even layer of gel base coat.
- Cure under your UV/LED lamp for the time listed on the bottle (usually 30–60 seconds).
Step 3: First Layer of Cat Eye Gel Polish
- Apply a thin layer of the cat eye polish to one nail at a time.
- Don’t cure it yet! It needs to stay wet for the next step.
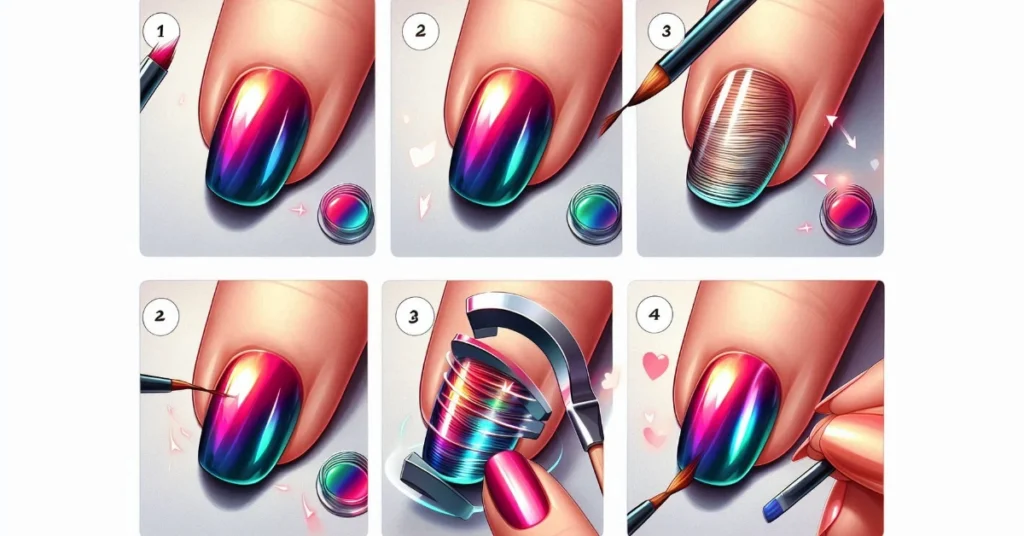
Step 4: Use the Magnet to Create the Cat Eye Effect
Now comes the fun part creating the glow!
- Hold the magnet super close to your nail (but don’t touch the polish).
- Hold still for about 10 seconds. You’ll see the shimmer line move and form!
- As soon as you’re happy with the look, cure your nail under the lamp.
Fun Magnet Styles:
- Straight Line: Hold the magnet straight across the nail.
- Diagonal Line: Tilt the magnet for a slanted look.
- Wavy Line or S Shape: Use a curved magnet or gently move it as you hover.
- Whole Nail Shine: Use a big magnet and cover the whole nail evenly.
Step 5: Second Layer of Cat Eye Gel Polish
- Add a second layer of cat eye gel polish.
- Again, don’t cure yet it needs to be wet for the magnet to work.
Step 6: Magnet Time Again!
- Use the magnet like before to add even more shine and dimension.
- Cure the nail again after the effect looks the way you want.
Doing two layers makes the effect pop even more!
Step 7: Apply Top Coat
- Add a thin layer of top coat to protect your design and add shine.
- Cure one last time under your lamp.
Step 8: Clean Off the Sticky Layer
- Use a lint-free wipe and nail cleanser (or rubbing alcohol) to wipe your nails.
- This removes the sticky “tacky” layer and leaves a shiny, smooth finish.
You did it! Your cat eye nails are done and looking fabulous!

Extra Tips for Even Better Results
Want your nails to look even more amazing? Try these pro tips:
- Try different magnets – Some make straight lines, some make swirls.
- Do one nail at a time – That way the polish stays wet for the magnet effect.
- Use thin layers – Thick polish can mess up the design.
- Test base colors – Try black, white, or dark shades under your cat eye polish for new effects.
- Keep magnets clean – Wipe them now and then to avoid smudges.
- Be patient – It might take a few tries to get it just right. Practice makes perfect!
Common Problems
Even pros mess up sometimes! Here’s how to fix common issues:
| Problem | Why It Happens | How to Fix It |
|---|---|---|
| No shimmer shows up | Magnet too weak or too far | Use a stronger magnet and hold it closer |
| Shimmer line fades away | You waited too long to cure | Cure right after using the magnet |
| Sticky after curing | Forgot to wipe the top coat | Use nail cleanser or rubbing alcohol |
| Bumpy polish | Too thick or not cured long enough | Use thin layers and cure fully each time |
Cat Eye Gel Polish Steps Table
| Step | What To Do | Why It Matters |
|---|---|---|
| 1. Prep Nails | File, buff, cleanse | Clean surface = better results |
| 2. Base Coat | Apply & cure | Protects nails + helps color stick |
| 3. First Polish Layer | Apply but don’t cure | Keeps polish wet for magnet |
| 4. Magnet Time | Hover & cure | Creates shimmer effect |
| 5. Second Layer | Apply again | Adds depth |
| 6. Magnet Again | Repeat shimmer | Boosts shine |
| 7. Top Coat | Apply & cure | Seals your design |
| 8. Clean Finish | Wipe with cleanser | Final glossy look |
Key Points
- Cat eye gel polish makes nails shimmer using magnets.
- You need gel polish, a UV/LED lamp, and a special magnet.
- Always apply polish in thin layers.
- Don’t cure the polish until after using the magnet.
- Wipe off the sticky layer at the end for a glossy finish.

FAQs
Do I need a special nail lamp for cat eye gel polish?
Yes, you’ll need a UV or LED nail lamp to dry (or “cure”) the gel polish. It helps the polish harden and stay shiny for longer.
Can I use regular nail polish and a magnet to create the cat eye effect?
Nope! Regular polish won’t work because it doesn’t have magnetic particles. You must use special cat eye gel polish for this effect.
How long does a cat eye gel manicure usually last?
If applied right, your cat eye gel nails can last 2 to 3 weeks without chipping. Just avoid peeling or picking at them!
Can I make different shapes with the magnet?
Yes! Try holding the magnet at different angles or using curved ones to make cool lines, swirls, or shimmer effects.
Is it hard to remove cat eye gel polish?
It’s not too hard just soak your nails in acetone and gently scrape off the gel. Be patient and don’t force it.
Also Read : How to Create Sparkly New Year’s Eve Nail Art Using Glitter and Rhinestones?
Final Thoughts
Creating cat eye gel nails might seem tricky at first, but once you get the hang of it, it’s super fun and so satisfying. You don’t need to go to a salon to get glowing, shiny nails that stand out. Just follow this easy guide, take your time, and play around with colors and magnets.
Remember, your nails are like tiny canvases so go wild, get creative, and enjoy showing off your sparkle!