Tired of your gel manicure lifting after a few days? Learn How Can I Make My Gel Manicure Last More Than Two Weeks Without Lifting? 10 simple and effective tips.
Gel manicures are amazingvthey give you glossy, chip-free nails that look salon-fresh for days. But what happens when your beautiful gel polish starts to lift after just a few days? That can be super frustrating!
The good news is, it doesn’t have to be this way. If you’ve ever asked, “How can I make my gel manicure last more than two weeks without lifting?” you’re in the right place. In this guide, we’ll break it all down into simple steps anyone can follow, even if you’re just starting out. You’ll learn how to prep your nails properly, apply gel like a pro, and take care of your manicure afterward to keep it looking fabulous.
Let’s dive in and unlock the secrets to a longer-lasting, gorgeous gel manicure!\
Also Read : Step-by-Step Tutorial for Creating a Stunning Cat Eye Gel Polish Effect

Why Do Gel Manicures Lift So Soon?
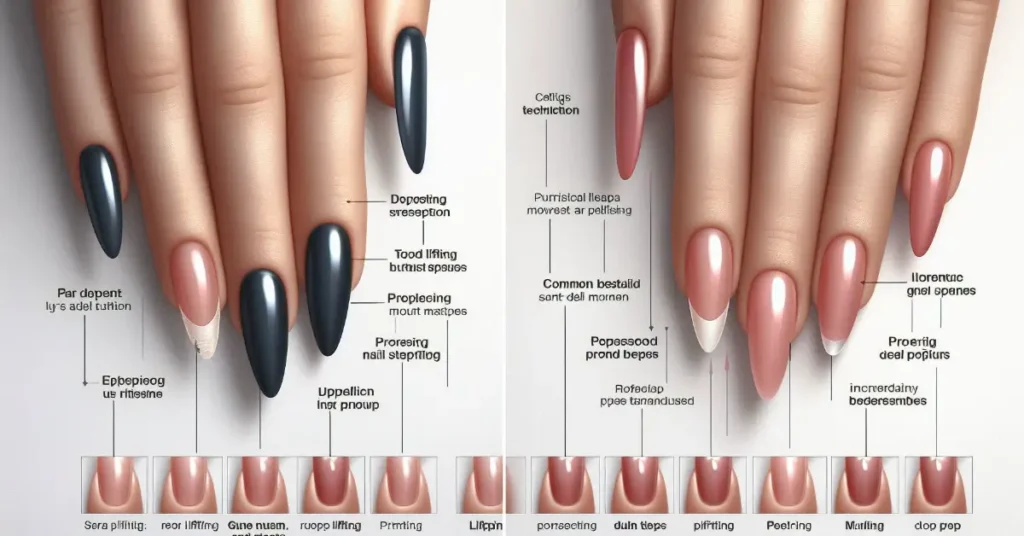
Before we fix the problem, it helps to understand why gel polish lifts. Here are some of the most common reasons:
- Your nails weren’t cleaned or prepped properly. Any dirt, oil, or shine can stop the gel from sticking.
- The gel was applied over cuticles or skin. This can cause the gel to peel as your nails grow.
- The layers were too thick. Thick layers don’t cure well under the lamp.
- You skipped capping the edges. This leaves the tips unsealed and weak.
- Your natural nails are dry, damaged, or peeling. Weak nails don’t hold polish well.
- Water or chemicals got underneath. Washing dishes or using cleaners without gloves can cause lifting.
- You picked or peeled at your nails. This breaks the seal and lets in air or moisture.
If any of these sound familiar, don’t worry we’ll teach you how to fix every one of them.
10 Steps to Make Your Gel Nails Last Over Two Weeks (Without Lifting!)
Follow these 10 easy steps to keep your manicure shiny, strong, and stuck in place:
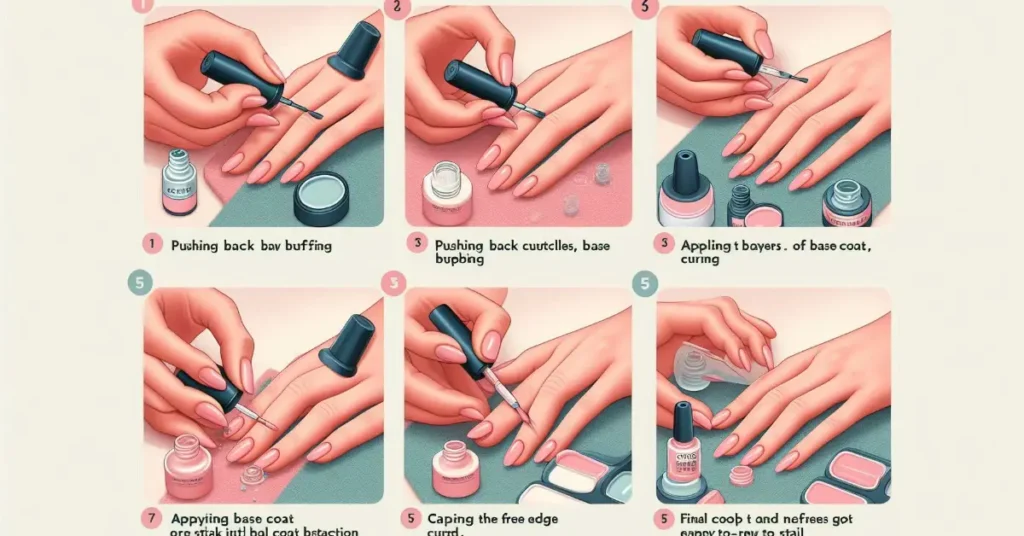
Step 1: Start with Clean, Dry Nails
Why it matters: Dirty, oily, or damp nails can ruin your gel mani before it even begins.
How to do it:
- Wash your hands and dry them well.
- Gently push back your cuticles using a cuticle pusher or orange stick.
- Use a nail file or buffer to lightly remove shine from the nail surface.
- Wipe nails with 99% isopropyl alcohol using a lint-free cloth. This removes natural oils and helps the gel stick better.
Tip: Never soak your nails before applying gel. Water causes them to expand and then shrink, leading to lifting.
Step 2: Apply a Thin Layer of High-Quality Base Coat
Why it matters: The base coat helps gel polish stick and protects your natural nails.
How to do it:
- Apply a thin, even layer. Don’t let it touch your skin or cuticles.
- Be sure to cap the free edge (the tip of your nail) by lightly brushing the edge with the base coat.
- Cure under a UV or LED lamp for the recommended time.
Tip: Stick with one brand for your base, color, and top coat. They’re made to work together.
Step 3: Apply Gel Color in Thin, Even Layers
Why it matters: Thick layers don’t cure well and are more likely to lift or wrinkle.
How to do it:
- Apply 2 to 3 thin coats of color.
- Cure each coat under the lamp before adding the next.
- Always cap the free edge with every layer.
Tip: Don’t rush. Let each coat cure fully, or your gel won’t stay in place.

Step 4: Use a Strong Top Coat to Seal Everything
Why it matters: The top coat locks in color, adds shine, and protects against chipping.
How to do it:
- Apply a thin, smooth top coat and cure it.
- Again, cap the tip of the nail to stop moisture from getting in.
Tip: A no-wipe top coat saves time and gives a super-glossy finish!
Step 5: Wipe Off the Sticky Layer (If Needed)
Why it matters: After curing, many gels leave a tacky layer. You need to clean this off for a shiny, clean finish.
How to do it:
- Use a lint-free pad with 99% alcohol to gently wipe the nail surface.
Step 6: Moisturize Your Cuticles Every Day
Why it matters: Healthy cuticles help your gel stay sealed and prevent lifting.
How to do it:
- Apply cuticle oil every night before bed.
- Use hand cream to keep your skin soft and nails strong.
Tip: Dry, cracked cuticles can break the seal between gel and nail, so keep them hydrated!
Step 7: Protect Your Nails from Damage
Why it matters: Rough handling and harsh products weaken the gel.
How to do it:
- Wear gloves when cleaning or washing dishes.
- Don’t use your nails to open cans or scrape things.
Tip: Think of your nails like jewels, not tools!
Step 8: Avoid Water for a Few Hours After Application
Why it matters: Water can loosen the gel bond if it gets under the nail too soon.
How to do it:
- Wait at least 2 hours after your manicure before swimming, bathing, or doing dishes.
Step 9: Don’t Pick or Peel the Gel
Why it matters: Peeling breaks the gel seal and can damage your real nails.
How to do it:
- If you see a lift, don’t pull it. Either fix it with a gel patch or have it removed professionally.
Step 10: Reapply or Refresh at 2-3 Weeks
Why it matters: As your nails grow, the gap at the cuticle gets bigger and may cause lifting.
How to do it:
- Schedule a fill-in, or remove and redo your gel nails every 2–3 weeks.
Tip: Taking short breaks between gel sets helps your natural nails stay strong.

Quick Gel Manicure Guide
| Step | What to Do | Why It Helps |
|---|---|---|
| 1. Clean & Prep | Buff, clean, and dry your nails | Helps gel stick better |
| 2. Thin Base Coat | Use a thin layer, cap the tip | Builds a strong foundation |
| 3. Color Coats | Apply 2–3 thin layers, cure each | Prevents wrinkling and lifting |
| 4. Top Coat | Seal in color and shine | Protects and adds gloss |
| 5. Remove Sticky Layer | Use alcohol after curing | Makes nails smooth and clean |
| 6. Cuticle Oil Daily | Moisturize cuticles | Keeps nail bed healthy and sealed |
| 7. Wear Gloves | Protect nails from water and chemicals | Prevents weak spots and peeling |
| 8. Avoid Water Afterward | Wait before showering or swimming | Keeps gel strong and in place |
| 9. Don’t Pick or Peel | Leave it alone! | Keeps natural nails safe |
| 10. Refresh Every 2–3 Weeks | Fill or redo your manicure | Maintains a fresh, clean look |
Key Points
- Thin layers and clean nails are the keys to success.
- Always cap the edges of your nails to stop lifting.
- Moisture, harsh chemicals, and rough handling can ruin your gel.
- Daily cuticle oil = longer-lasting manicure!
- Never pick or peel your gel polish it’s a big no-no!
FAQs
Can I do a gel manicure at home and still get salon-quality results?
Yes! With the right lamp, products, and technique, at-home gel manicures can look just as polished as salon ones. Just follow each step carefully.
Why is capping the free edge so important?
Capping seals the tip of your nail so no water or air can sneak underneath. This prevents early peeling or chipping.
How long should I cure each gel layer under the lamp?
Most layers need 30–60 seconds under an LED lamp. Always check your polish brand’s label for exact cure times.
My gel polish always lifts on the same finger—why?
That nail might get more use (like tapping on screens). Try extra prep and double-check you’re not missing the edge when capping.
What happens if I skip using cuticle oil?
Skipping cuticle oil can lead to dry skin and weaker nails, which increases the chance of lifting. Hydration helps your gel stay sealed.
Also Read : Step-by-Step Tutorial for Creating a Stunning Cat Eye Gel Polish Effect
Conclusion
If you’ve ever been let down by gel polish lifting too soon, now you know exactly how to prevent it. With just a few smart steps like proper prep, thin layers, capping the edges, and moisturizing daily you can enjoy strong, shiny, chip-free gel nails for over two weeks!
Now go show off those gorgeous nails you’ve earned them!