Discover 10+ easy negative space nail art ideas for short nails you can try today that are stylish, beginner-friendly, and perfect for quick DIY manicures. Learn step-by-step designs, expert tips, and trendy looks to make your short nails stand out today!
Let’s Get Creative With Your Nails!
Short nails? No problem! In fact, short nails are totally trendy and super practical. If you think you need long nails for cool designs, think again! One of the coolest trends right now is negative space nail art, and guess what? It works amazingly well on short nails.
In this fun and easy guide, you’ll learn how to create stylish, simple, and eye-catching nail art using your natural nail space as part of the design. No fancy tools needed just polish, tape, and your imagination.
Ready to be your own nail artist? Let’s get started!
Also Read: Bright and Easy Summer Nail Art Ideas
What Is Negative Space Nail Art?
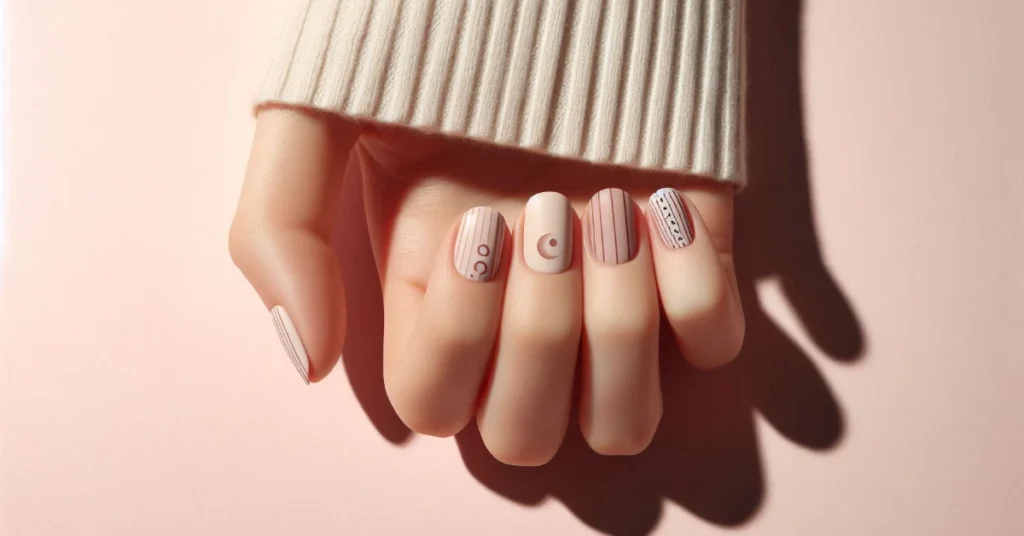
Negative space nail art is when you leave part of your nail bare (unpainted) on purpose. Instead of painting the entire nail, you use shapes or lines to show parts of your natural nail. It looks super modern and stylish and it’s a great way to make short nails look longer!
Why It’s Perfect for Short Nails
Here’s why negative space nail art works so well on short nails:
- Makes Nails Look Longer: The designs can stretch the look of your nails.
- Looks Modern and Clean: Simple lines and shapes give a fresh, trendy look.
- Easy for Beginners: No need to be a pro even first-timers can try these.
- Fast and Fun: These designs don’t take forever to do!
- Less Chipping: Because some of your nail stays unpainted, chips are less obvious.
- Super Customizable: You can pick colors and shapes that match your mood or style.
10 Easy Negative Space Nail Art Ideas for Short Nails
Let’s check out these fun, beginner-friendly nail art ideas you can do at home. Each one is super creative and looks awesome on short nails.
1. The Moon Shape (Cuticle Crescent)
Power Word: Elegant
How It Looks: A small moon-shaped space at the bottom of your nail near the cuticle stays bare, while the rest is painted.
How to Do It:
- Paint on a clear base coat.
- Use curved tape or stickers to cover the crescent near the cuticle.
- Paint the rest of your nail.
- Peel the tape, let it dry, and finish with top coat.
Pro Tip: Try using bold colors like red or dark blue for a classy vibe.
2. Straight Line Down (Vertical Stripe)
Power Word: Striking
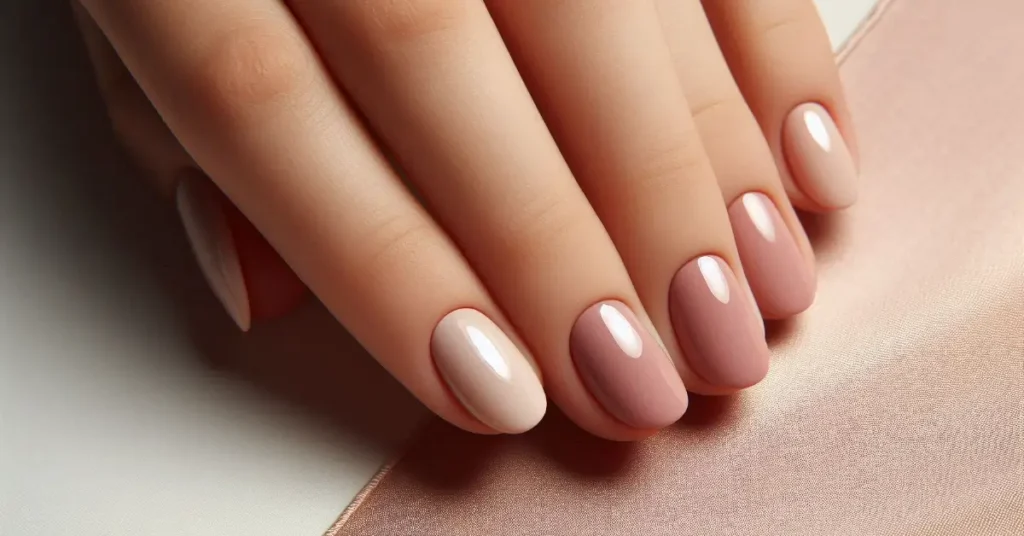
How It Looks: A skinny clear line runs from the top to the bottom of your nail.
How to Do It:
- Place a thin strip of tape vertically down your nail.
- Paint over it with your favorite color.
- Peel off the tape and add a top coat.
Pro Tip: Black polish with a clear stripe looks super modern.
3. Diagonal Band
Power Word: Dynamic
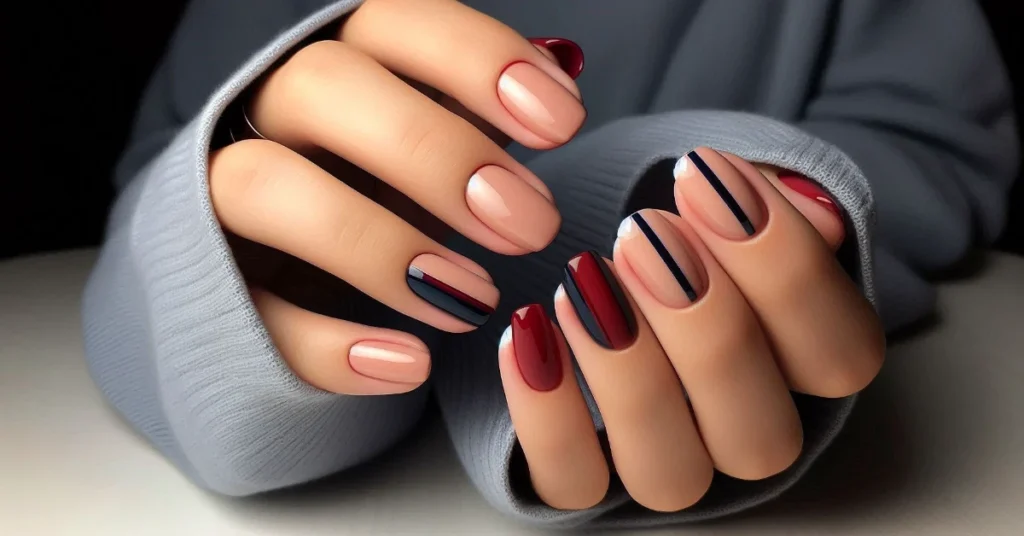
How It Looks: A diagonal space cuts across your nail, leaving a bare section.
How to Do It:
- Stick tape diagonally on your nail.
- Paint one side.
- Peel off the tape and seal with top coat.
Pro Tip: Use two different colors on each side for a bold design.
4. Triangle Tips
Power Word: Modern
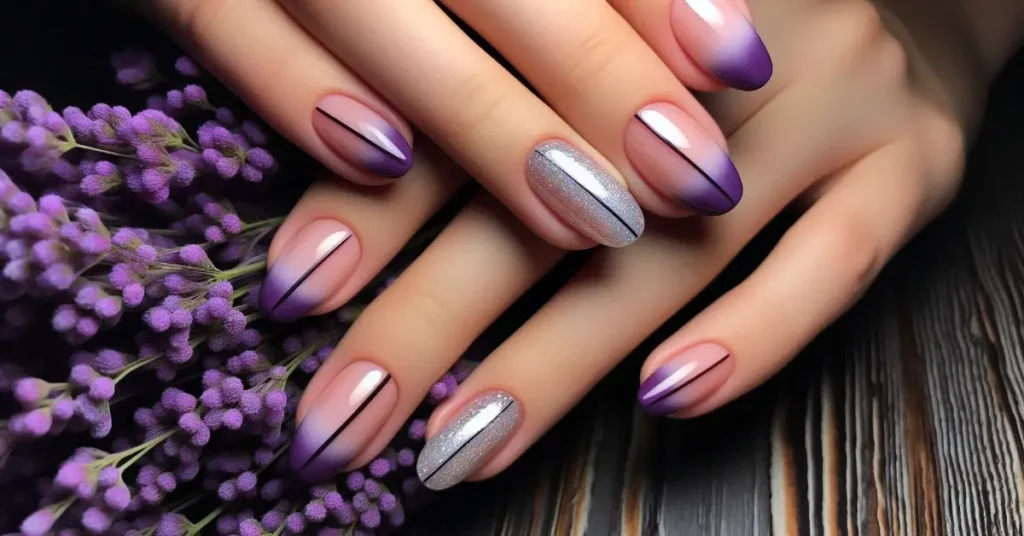
How It Looks: A clear triangle sits at the tip of your nail.
How to Do It:
- Use two pieces of tape to make a triangle at the tip.
- Paint the rest of the nail.
- Peel the tape and finish with top coat.
Pro Tip: Try bright neon shades for a fun twist.
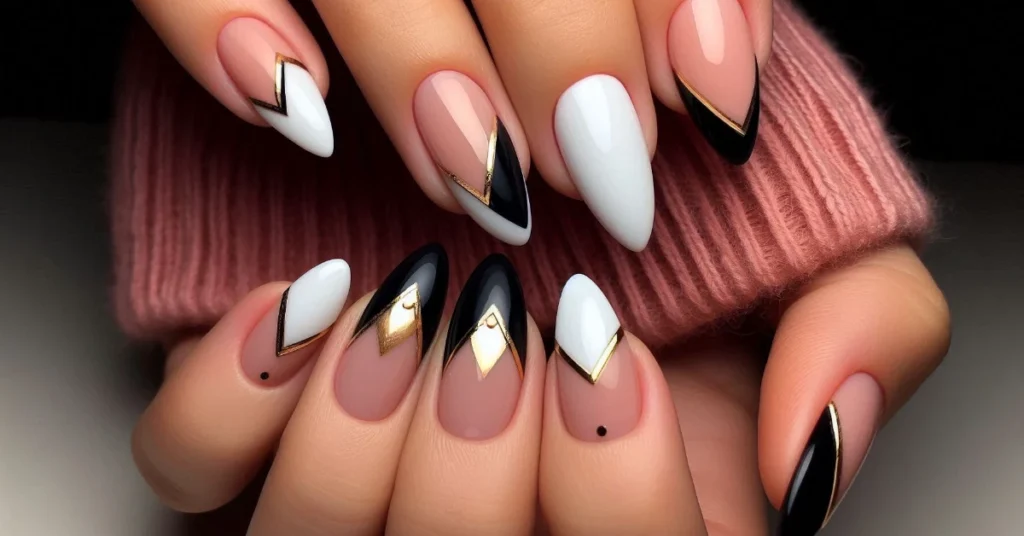
5. Peekaboo Polka Dots
Power Word: Playful
How It Looks: Clear dots pop through a colorful background.
How to Do It:
- Stick on dot stickers before painting.
- Paint over everything.
- Gently remove the stickers while polish is still soft.
Pro Tip: Try white polish for the base with colorful dots.
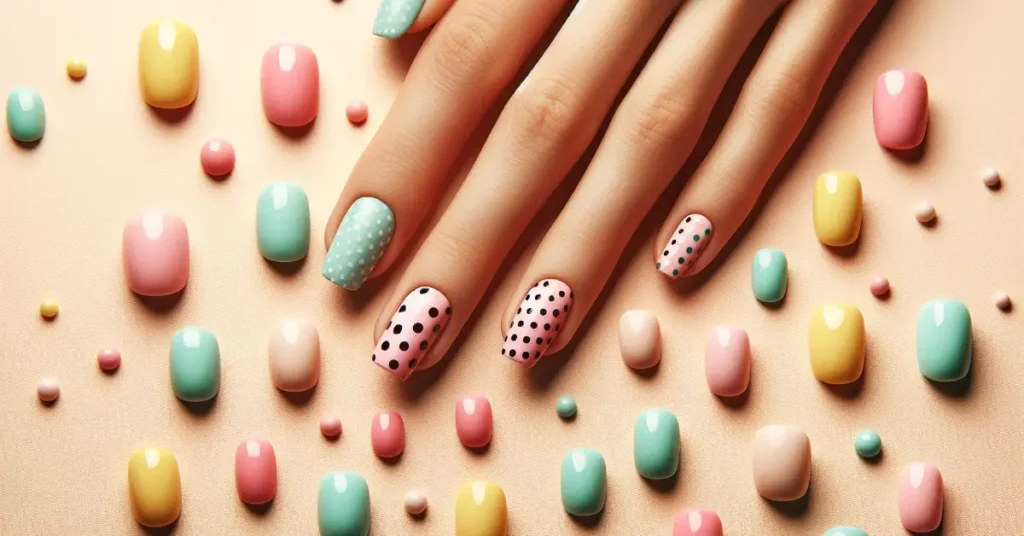
6. Outline Only
Power Word: Chic
How It Looks: A thin line of polish around your nail, but the center is clear.
How to Do It:
- Paint a clear base coat.
- Use a small brush to paint a thin outline.
- Finish with top coat.
Pro Tip: Gold or silver outlines look extra fancy.
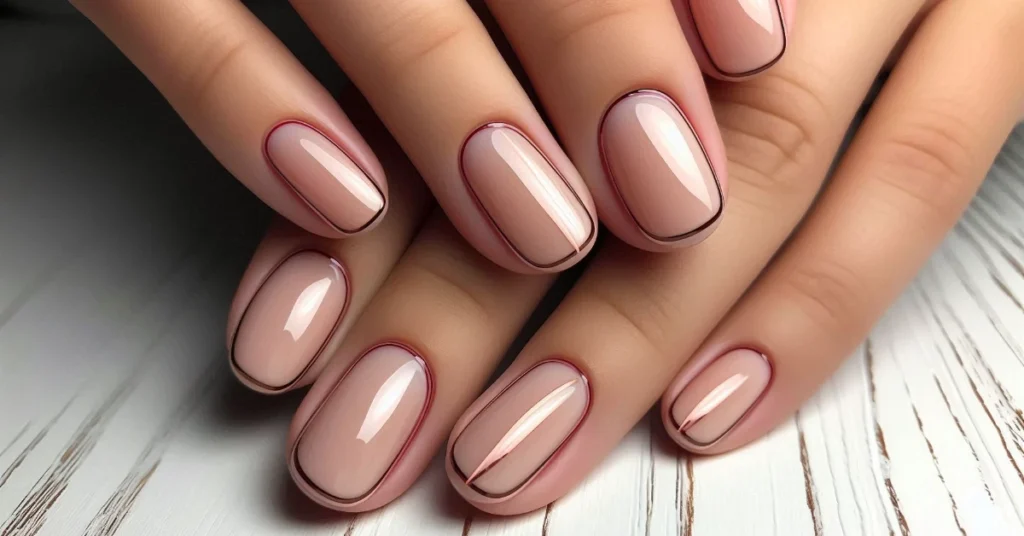
7. Geometric Shapes
Power Word: Bold
How It Looks: A square, rectangle, or shape is left unpainted inside your color.
How to Do It:
- Use tape to make a square or shape.
- Paint over everything else.
- Remove tape and seal with top coat.
Pro Tip: Mix and match shapes on different nails for a cool set.
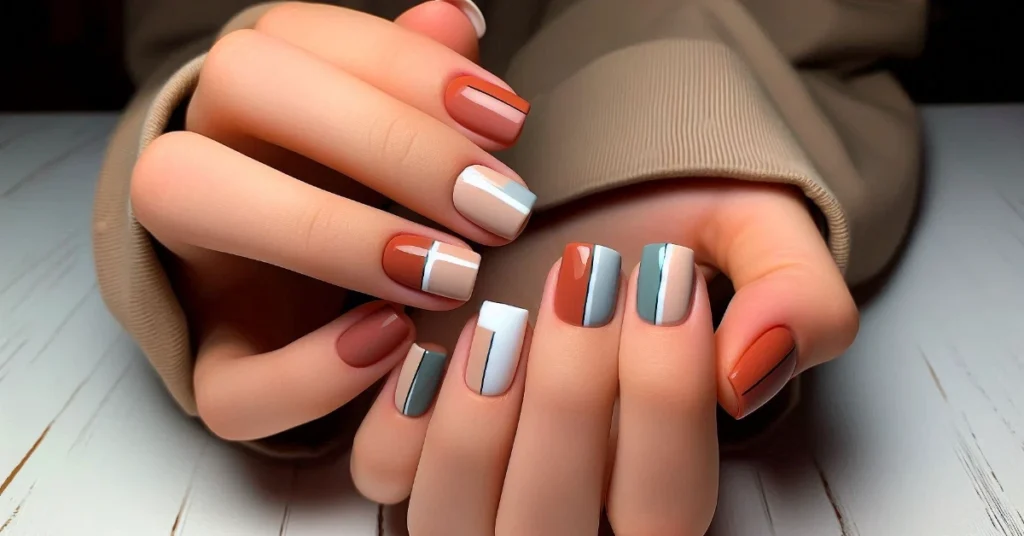
8. Half and Half
Power Word: Balanced
How It Looks: One half of your nail is painted, the other stays bare.
How to Do It:
- Use tape to split your nail in half (up/down or side to side).
- Paint one side.
- Peel tape and top it off!
Pro Tip: Try fun color combos like pink and white or teal and nude.
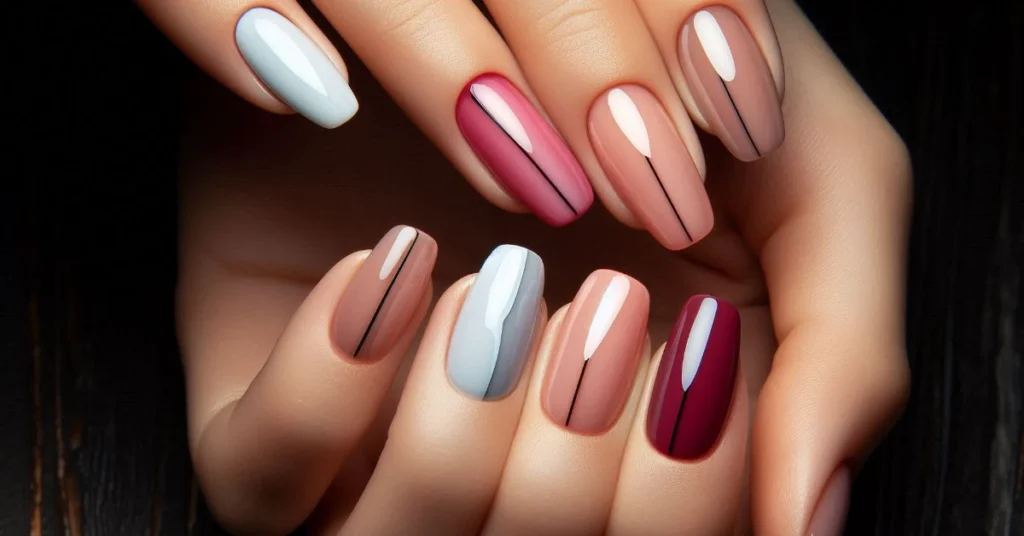
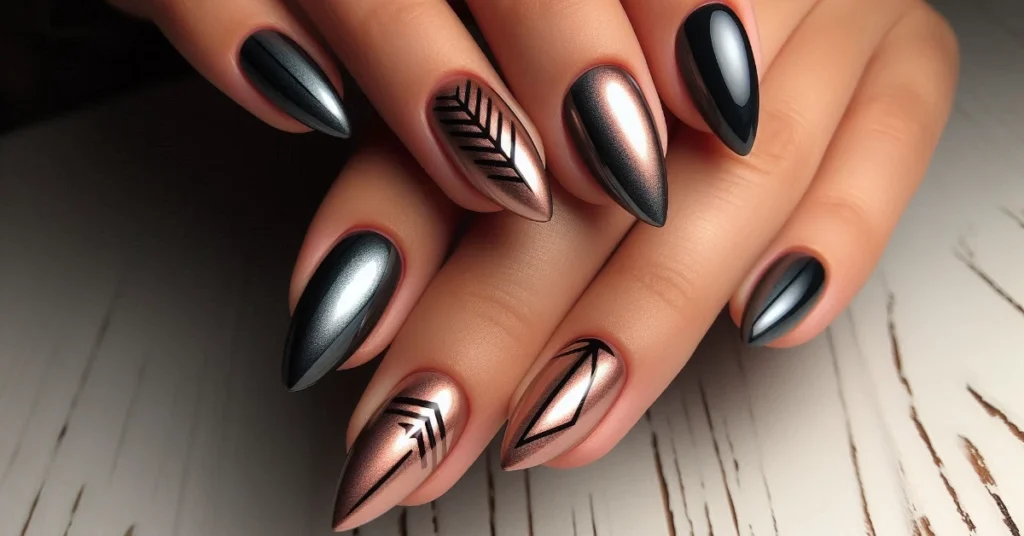
9. Arrow Accent
Power Word: Directional
How It Looks: A cool arrow shape points toward your fingertip.
How to Do It:
- Use tape to form an arrow.
- Paint the rest.
- Remove tape and finish with top coat.
Pro Tip: Great for making short nails look longer.
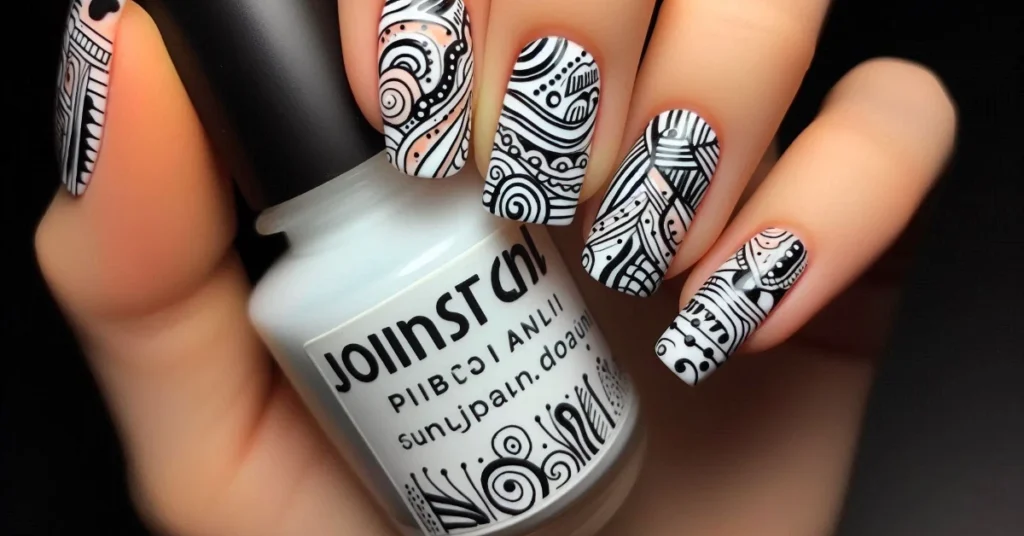
10. Freehand Fun
Power Word: Artistic
How It Looks: Wavy lines or cool shapes drawn right onto the nail.
How to Do It:
- Paint a base color and let dry.
- Use a small brush with remover to “draw” a shape.
- Finish with top coat.
Pro Tip: Practice on paper first to get your design just right.
Nail Art Ideas Table
Here’s a handy table to compare the ideas:
| Design Idea | Power Word | Description | How to Do It |
|---|---|---|---|
| Moon Shape | Elegant | Bare crescent at the cuticle | Cover with curved tape, paint rest |
| Vertical Stripe | Striking | Thin bare line down the middle | Tape a stripe, paint, peel |
| Diagonal Band | Dynamic | Bare diagonal stripe | Tape diagonally, paint, peel |
| Triangle Tips | Modern | Bare triangle at nail tip | Tape triangle tip, paint rest |
| Polka Dots | Playful | Bare dots peek through color | Dot stickers under paint, peel |
| Outline Only | Chic | Bare center with colored border | Use thin brush to outline edges |
| Geometric Block | Bold | Bare square or shape on nail | Tape shapes, paint around |
| Half and Half | Balanced | One half painted, one half bare | Tape half, paint, peel |
| Arrow Accent | Directional | Arrow shape points upward | Tape arrow shape, paint around |
| Freehand Fun | Artistic | Hand-drawn lines or waves | Remove polish with brush to create design |
Nail Art Tips for Beginners
Want your nails to look neat and last longer? Try these helpful tips:
- Use Thin Coats: Helps keep lines sharp.
- Let It Dry: Always wait for layers to dry before taping.
- Top Coat Magic: A good top coat makes your design last longer.
- Clean Brushes Help: Keep your tools clean for better designs.
- Practice Makes Perfect: Don’t worry if it’s not perfect the first time have fun!
What If Something Goes Wrong?
Everyone makes mistakes! Here’s how to fix common issues:
- Tape Peels Off the Base: Make sure your base coat is completely dry before adding tape.
- Paint Bleeds Under Tape: Press tape down well and use thin coats.
- Lines Look Messy: Try a finer brush or go slower.
- Design Doesn’t Pop: Choose colors with contrast (like black and white).
Key Points
- Negative space nail art is awesome for short nails!
- It’s easy, fast, and perfect for beginners.
- Use simple tools like tape and stickers.
- Try fun shapes like lines, triangles, and dots.
- Be creative and don’t be afraid to try something new!
FAQs
What are the best nail polish colors for negative space nail art?
Go for colors that stand out from your natural nail. Bright shades like red or blue, or bold combos like black and white, work really well.
Do I need special tools for negative space nail art?
Nope! You can use things like tape, stickers, or even household items like bobby pins and toothpicks to help create designs.
How long does negative space nail art last?
It usually lasts about a week, but using a strong top coat can make it last even longer without chipping.
What’s the easiest way to make circles or curves in designs?
Try using round stickers or hole-punch reinforcements as stencils. They help shape smooth curves easily.
How do I make my nail art look more professional?
Keep your lines neat, use thin coats of polish, and always finish with a shiny top coat to seal the design.
Also Read: Bright and Easy Summer Nail Art Ideas
Conclusion
Negative space nail art is a fun and fresh way to make your short nails look amazing! Whether you love bold styles or cute and simple designs, there’s something here for everyone.
So grab your nail polish, get creative, and turn your nails into tiny works of art!