Celebrate the holidays with easy 10 Festive Red and Green Christmas Nail Art Designs for Beginners.Learn fun and simple designs that bring festive joy to your fingertips.
The holiday season is the best time to add sparkle to everything including your nails! If you’re new to nail art and worried that holiday designs are too tricky, don’t worry. We’ve got your back. In this fun and simple guide, you’ll discover super easy red and green Christmas nail designs that are perfect for beginners. Whether you want cute candy cane stripes, twinkling glitter, or adorable holly berries, these ideas are simple, fun, and totally festive.
Also Read : How Can I Make My Gel Manicure Last More Than Two Weeks Without Lifting?

Why Red and Green? The Colors of Christmas Magic
Red and green are classic holiday colors that remind us of Christmas trees, Santa’s suit, and all the festive fun. When used together on nails, they pop with contrast and charm. From bright and bold to soft and shiny, these colors help your nails stand out in the best way.
Easy Red and Green Nail Designs for Beginners
Ready to try your first holiday nails? These beginner-friendly ideas are easy to follow, fun to make, and will get you in the Christmas mood in no time.
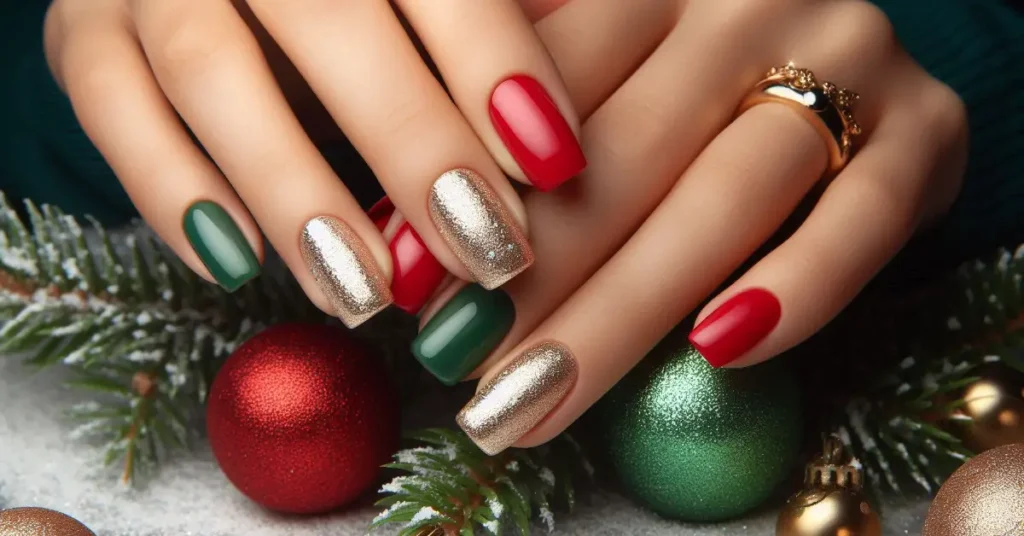
1. Solid Color with a Festive Twist
Paint most of your nails red or green, and choose one nail on each hand to do the opposite color or add glitter. It’s simple, stylish, and perfect for any holiday event.
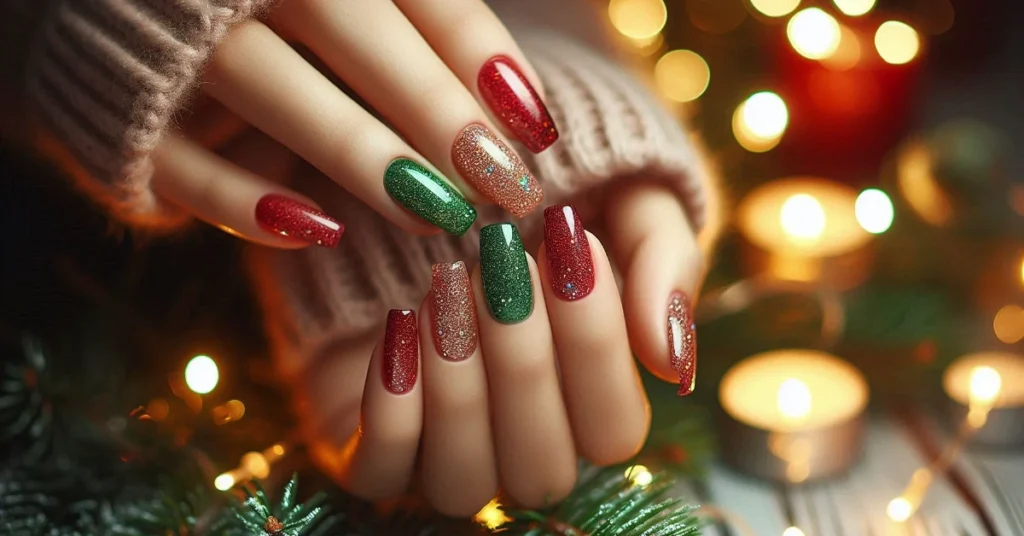
2. Glitter Tips (Easy Gradient)
Start with a red or green base, then dab glitter polish on the tips. Gently brush it down halfway to fade the sparkle. It looks super fancy but takes almost no effort!
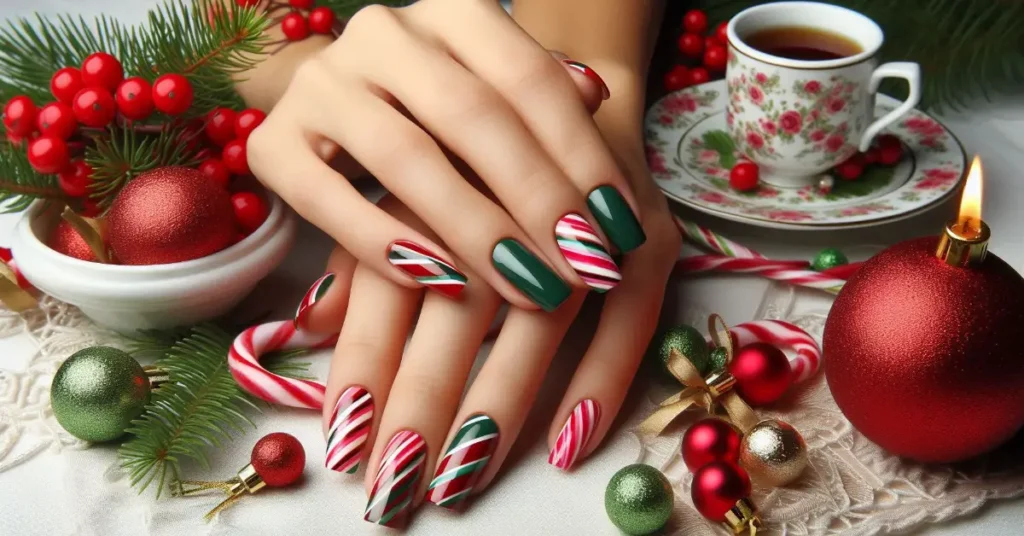
3. Candy Cane Stripes
Paint your nails white. Then, use a thin brush or tape to add red diagonal lines. It’s just like a candy cane—and just as sweet!
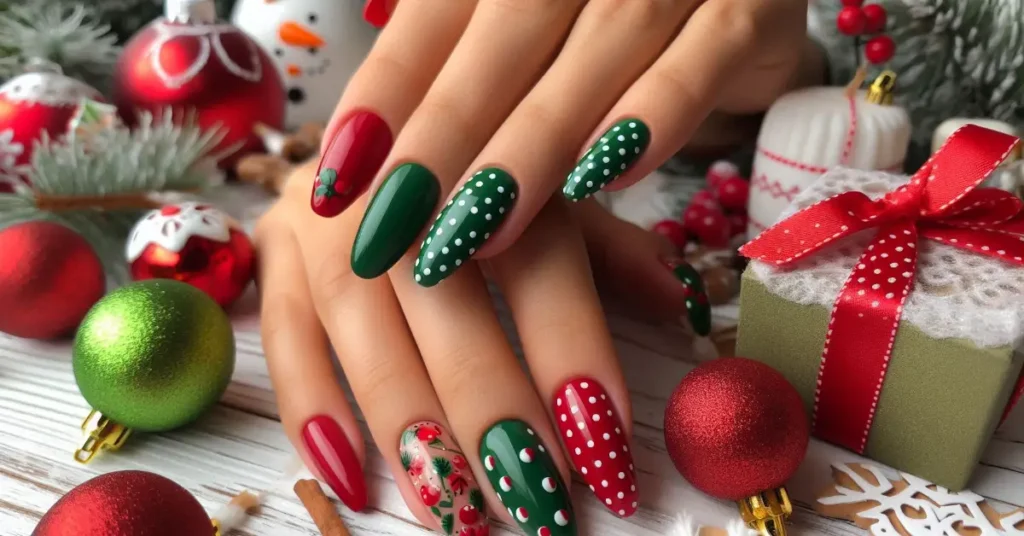
4. Christmas Polka Dots
Pick a base color (like red or white), then use a bobby pin or dotting tool to add green and red dots. You can scatter them or line them up for a cute holiday look.
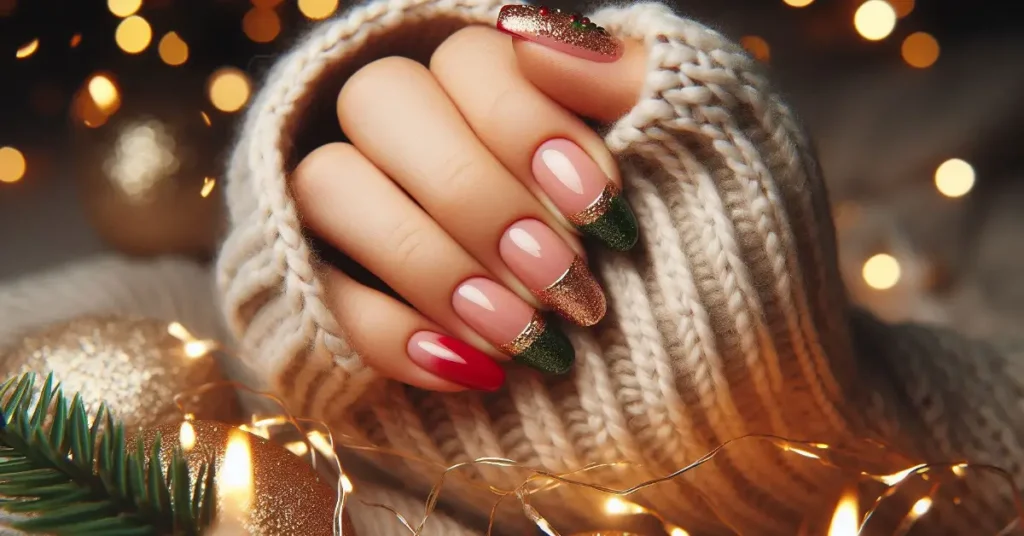
5. Holiday French Tips
Give a holiday twist to a classic style! Instead of white tips, use red or green. For extra sparkle, draw a line of glitter where the tip meets your natural nail.
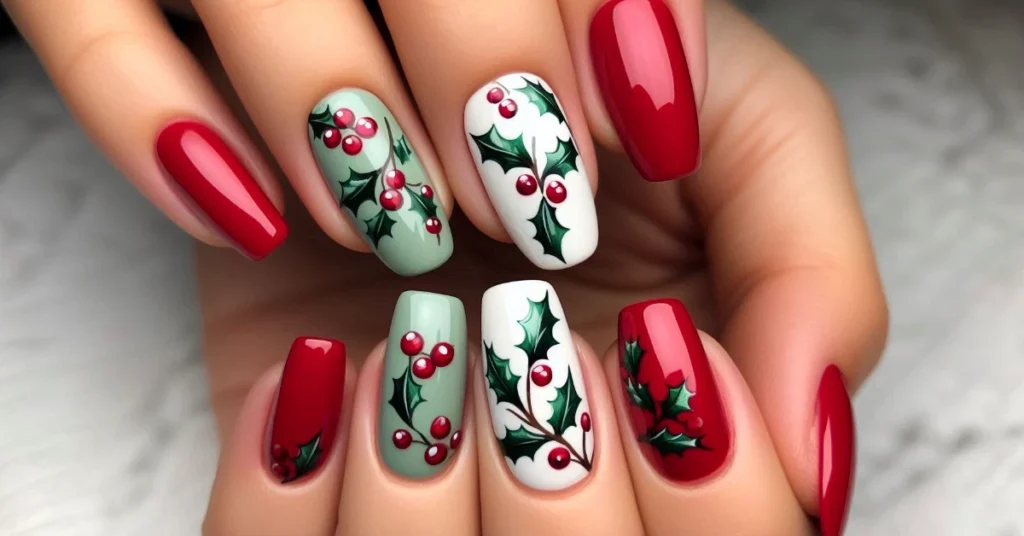
6. Holly Berry Nail Accent
Paint most nails red. On one nail, use white or green as a base, then add two small red dots and a green leaf using a tiny brush or bobby pin. So simple, yet totally adorable.
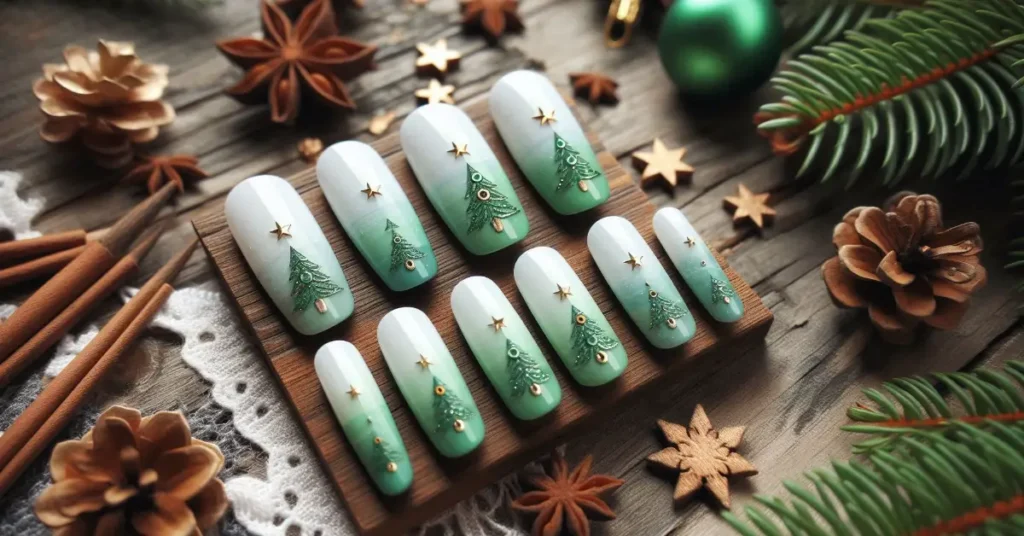
7. Christmas Tree Shapes
Use a light background like white or soft green. Then paint little triangle shapes in dark green to look like trees. You can even add a gold dot on top for a star!
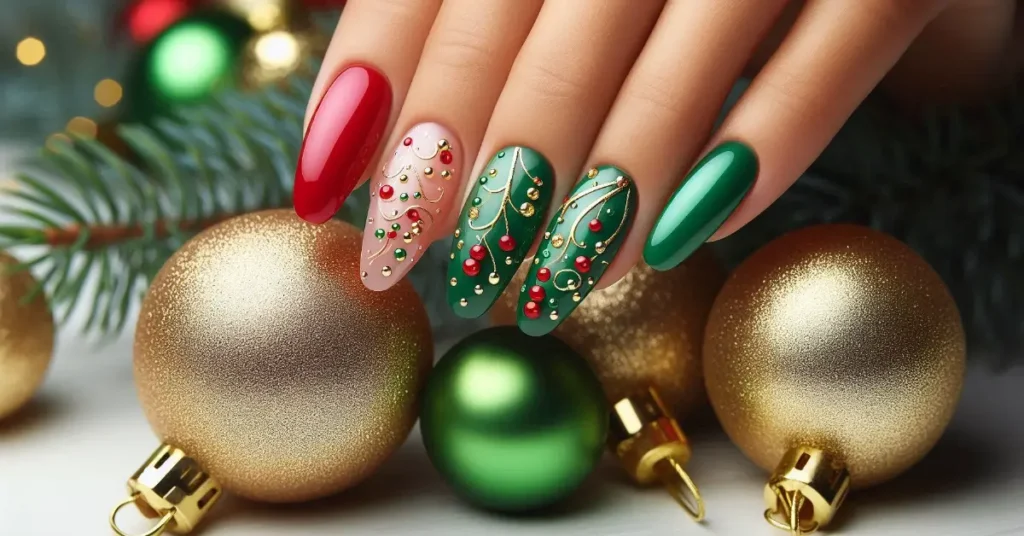
8. Ornament Nail Art
After painting your nails red or green, use glitter polish to add small dots that look like ornaments. Draw tiny lines above each one to make them look like they’re hanging.
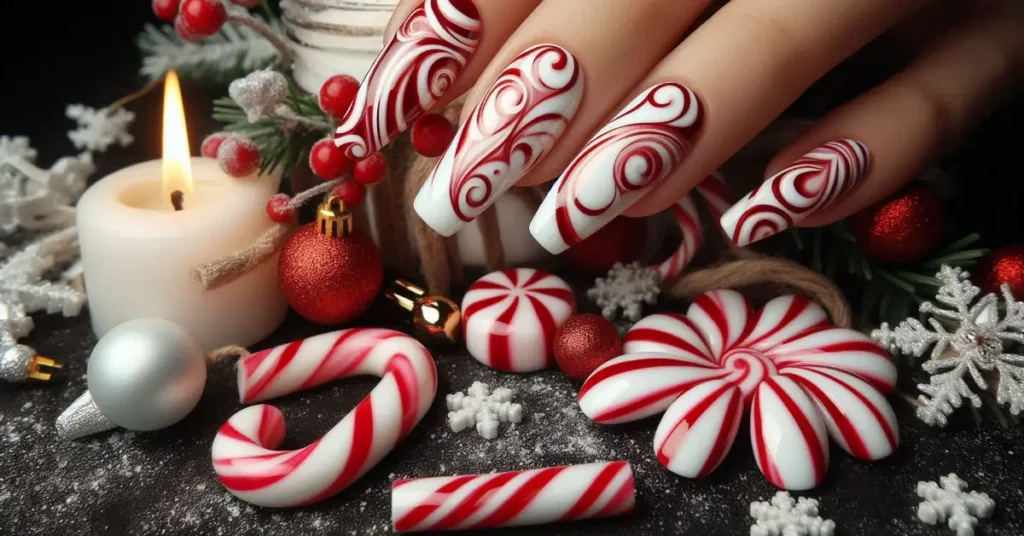
9. Swirly Candy Designs
Start with a white base and draw red swirly lines across the nail using a brush. It looks just like a peppermint swirl!
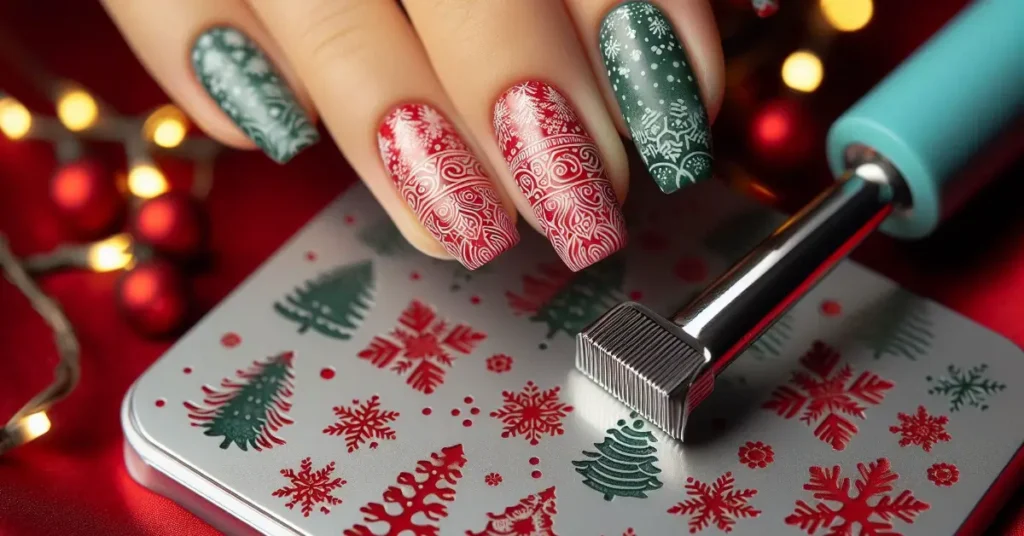
10. Stamp It Up!
Use a Christmas-themed stamping plate with red or green polish to press cute shapes like snowflakes or trees onto your nails. It’s like using a rubber stamp easy and cool!
Beginner Tips for Perfect Holiday Nails
Even easy designs look better with a few helpful tricks:
- Start Clean: Wash your hands and push back cuticles before painting.
- Thin is Best: Always use thin layers of polish. They dry faster and look smoother.
- Be Patient: Let each layer dry before doing the next one.
- Use Tools: A dotting tool, thin brush, or even tape can help your designs look neat.
- Seal the Deal: Use a top coat to protect your nail art and make it last longer.
- Keep Practicing: Don’t stress if it’s not perfect! Nail art gets better the more you do it.
Try Different Textures for Extra Holiday Style
Want to make your nails even cooler? Here are some fun textures to try:
- Glitter polish adds sparkle and excitement.
- Metallic polish gives a shiny, mirror-like finish.
- Matte top coat makes your nails look smooth and modern.
- Shimmer polish gives a pretty glow that catches the light.
Why Holiday Nails Are More Than Just Pretty
Festive nails aren’t just for fun they help show your Christmas spirit! Whether you’re wrapping gifts, baking cookies, or taking selfies, your nails can bring joy and make you smile. They’re a fun way to celebrate the season and feel confident while doing it.
Easy Red and Green Nail Designs for Beginners
| Design Name | Base Color | Art Style | Skill Level | Tools You’ll Need | Festive Feel |
|---|---|---|---|---|---|
| Solid with Accent | Red or Green | One nail different or glitter top | Very Easy | Brush, glitter polish | Classic & Clean |
| Glitter Gradient | Red or Green | Sparkle fades from tip to middle | Easy | Glitter polish, brush | Sparkly & Fancy |
| Candy Cane Stripes | White | Red diagonal lines | Easy | Thin brush or tape | Fun & Festive |
| Polka Dots | Any | Dots in red and green | Easy | Dotting tool or bobby pin | Playful & Cute |
| French Tips | Clear or Nude | Red/green tips, glitter line | Easy | Brush, glitter polish | Elegant & Modern |
| Holly Accent | Red & White | Two berries, small leaves | Easy | Dotting tool, small brush | Traditional & Sweet |
| Tree Silhouette | White or Green | Triangle tree shape | Easy | Thin brush | Whimsical & Joyful |
| Ornament Accents | Red or Green | Dots with tiny lines above | Easy | Glitter, brush or pin | Classy & Creative |
| Swirl Design | White | Red peppermint swirls | Easy | Nail brush | Classic & Cool |
| Nail Stamping | Any | Press-on Christmas shapes | Easy | Stamp kit & plate | Detailed & Stylish |
Key Points
- Red and green are iconic Christmas colors, perfect for eye-catching nail art that celebrates the holiday spirit.
- Beginners can easily create festive nails with simple techniques like solid colors, stripes, dots, and glitter gradients.
- Step-by-step design ideas include candy cane swirls, holly accents, Christmas trees, ornament dots, and more all beginner-friendly.
- Basic tools like dotting tools, striping tape, and thin brushes can help you achieve polished designs even with no prior experience.
- Preparation and patience are crucial—clean nails, thin coats, and letting polish dry properly make your manicure last longer.
- Top coats are essential to seal your design and give it shine or a trendy matte finish.
- Advanced textures and finishes (like glitter, shimmer, and metallic polish) can elevate simple designs once you’re comfortable.
- Holiday nails add joyful flair and can be a fun way to spread cheer and express creativity during the season.
- Practice makes perfect—don’t stress over small mistakes, just have fun with the process!
FAQs
What’s the easiest Christmas nail art design to try first?
The simplest designs are solid red or green nails with one glittery accent. They look festive and take almost no time to do!
Do I need fancy nail tools as a beginner?
Not at all! You can start with basic tools like a nail polish brush, a bobby pin for dots, and some tape for clean lines.
How can I make red and green nails look more mature or stylish?
Try darker shades of red and green or add gold accents and matte finishes for a more elegant holiday look.
Can I use regular nail polish for these designs?
Yes, regular polish works perfectly for all the beginner-friendly designs shared in this guide just let each coat dry well.
How do I stop my Christmas nail art from chipping?
Prep your nails first, apply thin layers, and always finish with a strong top coat to protect the design and help it last longer.
Also Read : How Can I Make My Gel Manicure Last More Than Two Weeks Without Lifting?
Conclusion
Doing your own red and green Christmas nail art is a fun, easy, and creative way to enjoy the holiday spirit. Whether you’re a total beginner or just want something quick and cute, these ideas will make your nails stand out all season long. So grab your favorite polishes, turn on your favorite holiday music, and get painting—because even your fingertips deserve some Christmas cheer!